Quote
Create a professional quote with few simple steps
Creating quotes is a simple and user-friendly feature.
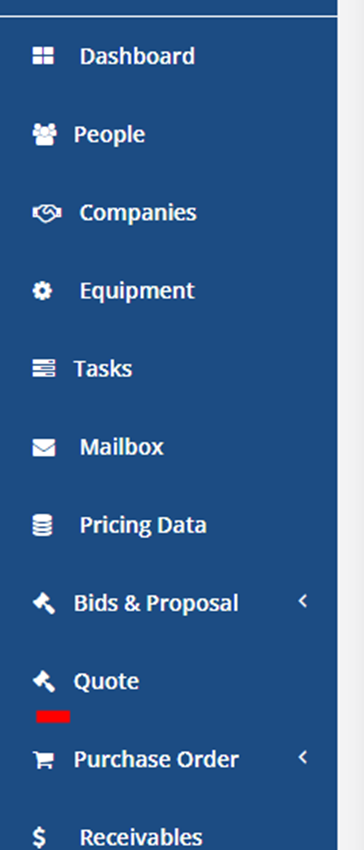
Click 'Quote' on the left panel
Click ''Add New"
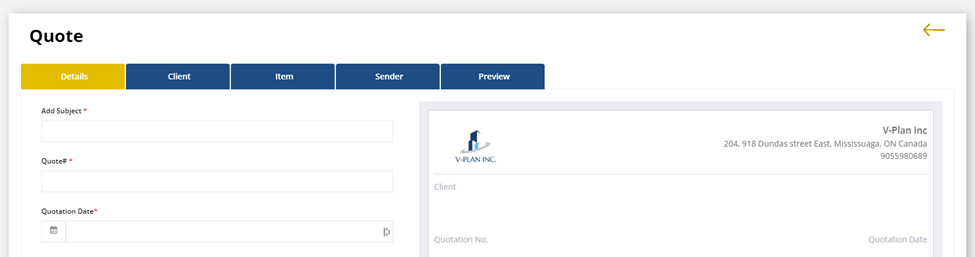
You will see a step-by-step workflow with two panels. You can see the preview of the quote as you work through creating the quote.
________________________________________
Creating a Quote, steps explained :

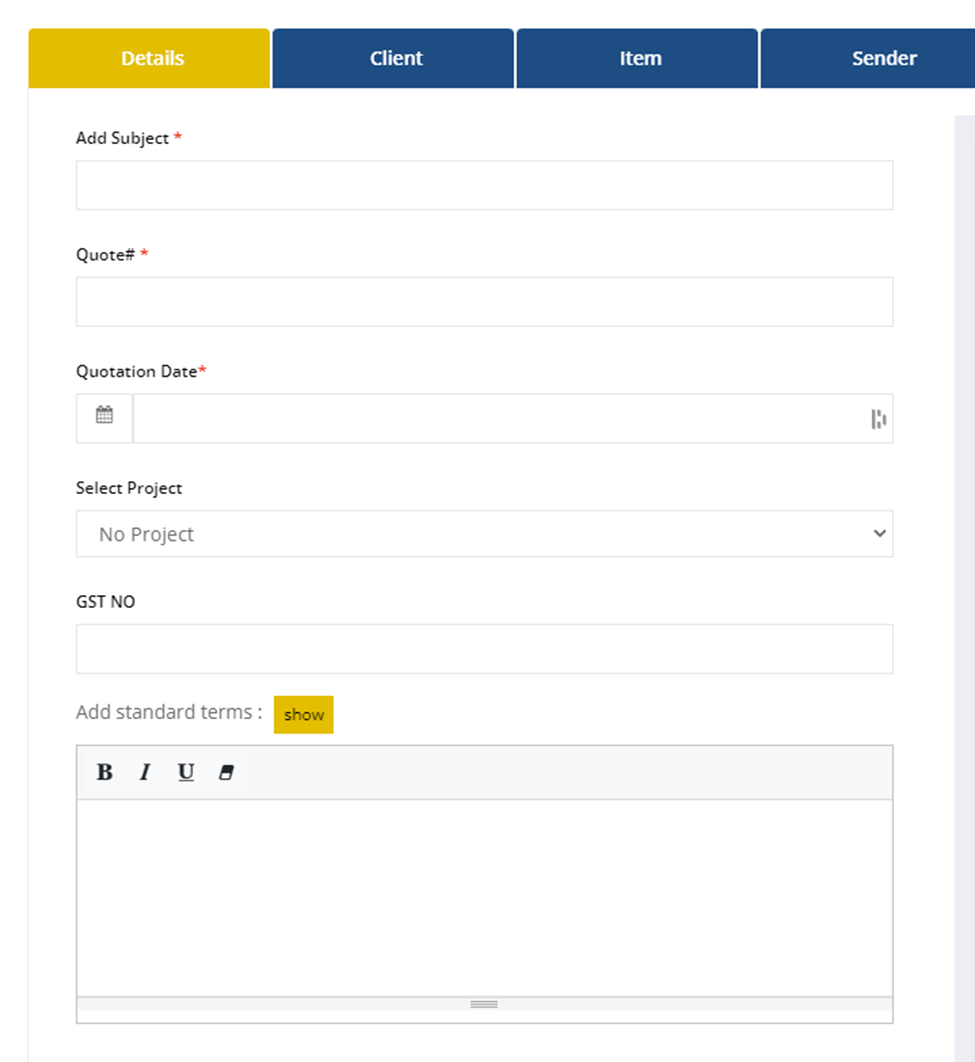
1. Details
2. Client
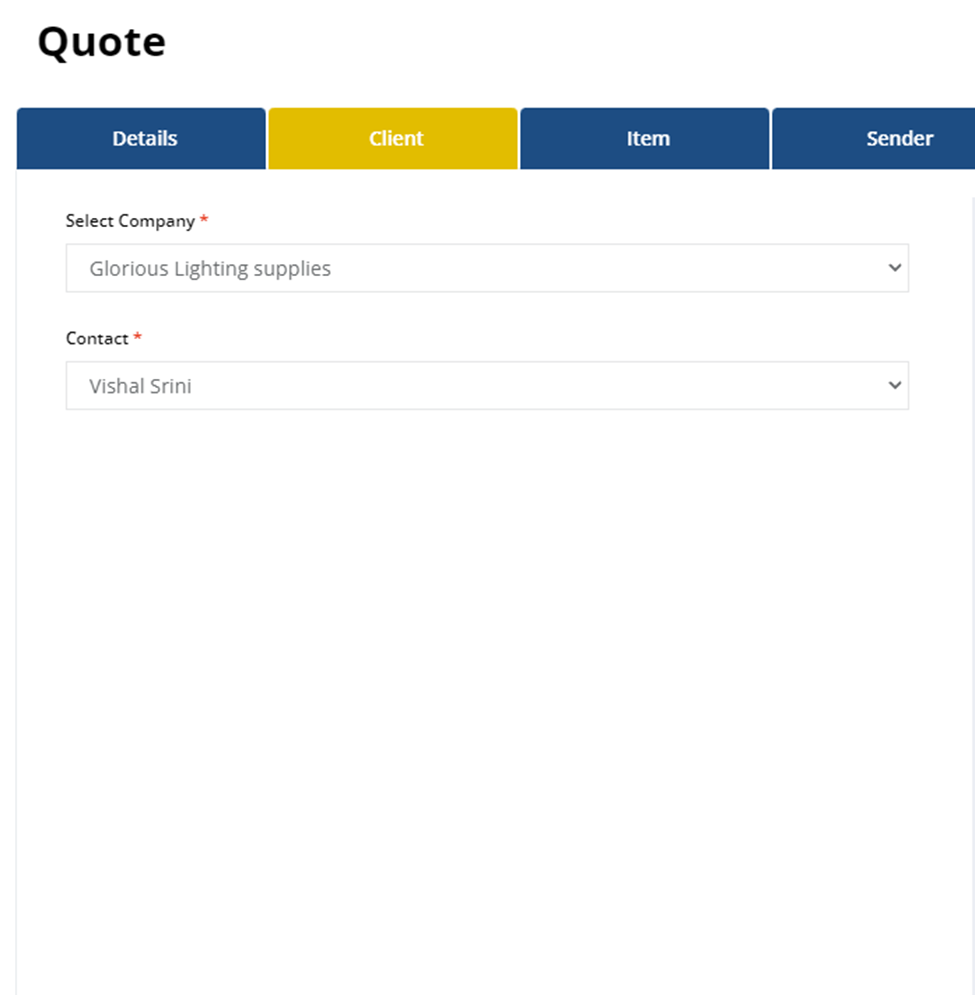
'Contact' field indicates the email contact of the recipient. You can find the drop-down list of the contacts pre-populated from the contact page
Linking contact to a company
In People, go to the contact person, whose email is to be linked to the company.
Select the company from the drop-down list.
Now this contact will appear in the Quote module for selecting as recipient email ID
3. Item

Type in the item description, quantity, pricing, and other details. You can add Tax and discount per item and also on subtotal of the quote
4. Sender details
Realtraker account owner's name would be the default name for ' Sender'. You can also enable any team member as ' Sender' from the 'People'
Set up a team member as Sender for Quote
Go to 'People
Open the profile page of the team member

Check mark the ' Can Send Quotes'
The name would automatically appear in the drop-down list in 'Sender'
5. Preview
Preview is the last step and gives you a preview of the Quote.
Save it or Send it later using the appropriate buttosns
Digital Signature
You can also add a digital signature using the mouse button
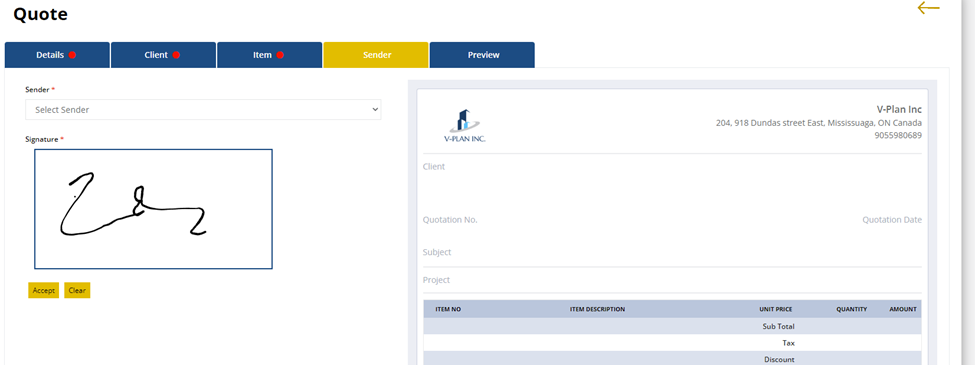
Click 'Accept' to add the signature to the Quote
Print to PDF or the Printer
You can send the quote directly using the 'Send' button or you can send it after printing using the Mailbox feature
Save Draft
You can save the file as a draft by clicking ' Save Draft ' on the top right corner
If a user would like to send the quote as an Email. they can do so by clicking on the paper rocket icon. Know more by clicking here.
________________________________________